

Creating a Professional-Looking Finish with French Seams
When it comes to sewing, achieving a professional-looking seam is essential. One technique that can help you achieve this is the French Seam. French Seams are often used in clothing and other fabric-based projects where the seam will be visible and a neat finish is desired. In this blog post, we’ll explore what French Seams are, what they’re used for, and how to make them.
What is a French Seam?
A French Seam is a type of seam that encloses the raw edges of the fabric within the seam itself, creating a clean and professional finish. This technique is often used on lightweight or sheer fabrics, as well as on fabrics that fray easily. French Seams are commonly used in clothing, such as blouses, dresses, and skirts, as well as in home decor projects like curtains and pillowcases.
Benefits of French Seams
The main benefit of using French Seams is the neat and professional appearance they create. This technique is perfect for creating seams that will be visible on the finished project, as well as for creating seams that need to be strong and durable. French Seams are also great for fabrics that are prone to fraying, as they enclose the raw edges within the seam, preventing fraying.
How to Make a French Seam
Here are the steps to create a French Seam:
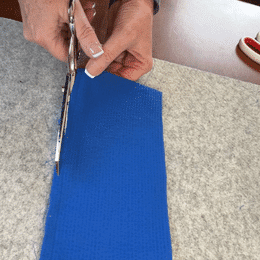
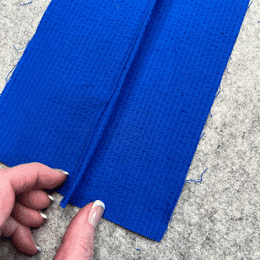
Please note: we have used a heavier woven for the demonstration.
French seams shine most on:
-
chiffon
-
voile
-
lawn
-
silk habotai
-
georgette
-
rayon challis
-
organza
Step 1:
Check your pattern to see what seam allowance is included. We have a 5/8″ seam allowance for our pattern. A French seam must fit within the original seam allowance. For a 5/8″ seam allowance, sew the first seam at 1/4″, trim the seam allowance, and then sew the second seam at 3/8″.
Unlike a plain seam, place the fabric with the wrong sides facing each other and stitch along the edge using a 1/4″ seam allowance.

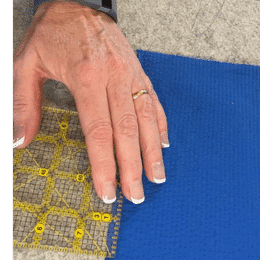
Step 2: Trim the seam allowance down to 1/8 inch.
Step 3: Press the seam to one side. Then fold the fabric along the stitched seam with the right sides together, enclosing the trimmed raw edge inside.
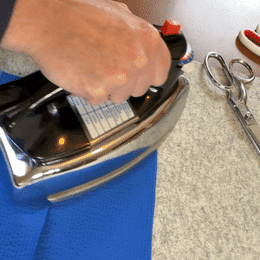
Step 4: Wrong sides toward the inside, fold the fabric along the seam line, so that the seam you just sewed is in the center of the fold. Pin the fabric in place. (In other words, press the folded edge and pin in place if needed.)
Step 5: Stitch a second seam along the fold, using a 3/8 inch seam allowance, enclosing the raw edges within the seam. Check to make sure you have seamed enough seam allowance, so that you can not see the frayed edges, then continue.
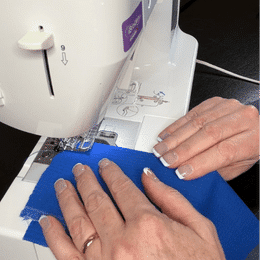
Step 6: Press the seam to one side, and your French Seam is complete!
French Seams are a useful and versatile technique that can be used to create a professional-looking finish on a variety of fabric-based projects. By following the steps above, you can easily create French Seams in your sewing projects. Experiment with different fabrics and projects to see how this technique can elevate your sewing skills to the next level.
Recent Posts
What Is a Hong Kong Seam? (And How to Sew This Couture Finish Step-by-Step)
Learn how to sew a Hong Kong seam finish step-by-step. This couture bias-bound technique gives unlined garments a clean, professional interior.
Your Plus-Sized Evening Palazzo Pant and Shell Blouse Ensemble: Sheer, Flowing, Refined
If you want an outfit that feels special the moment you slip it on, the Palazzo Pants inside your Sewing Pattern Secrets Database ✂️👗 are the perfect make for the any season — celebrations,...