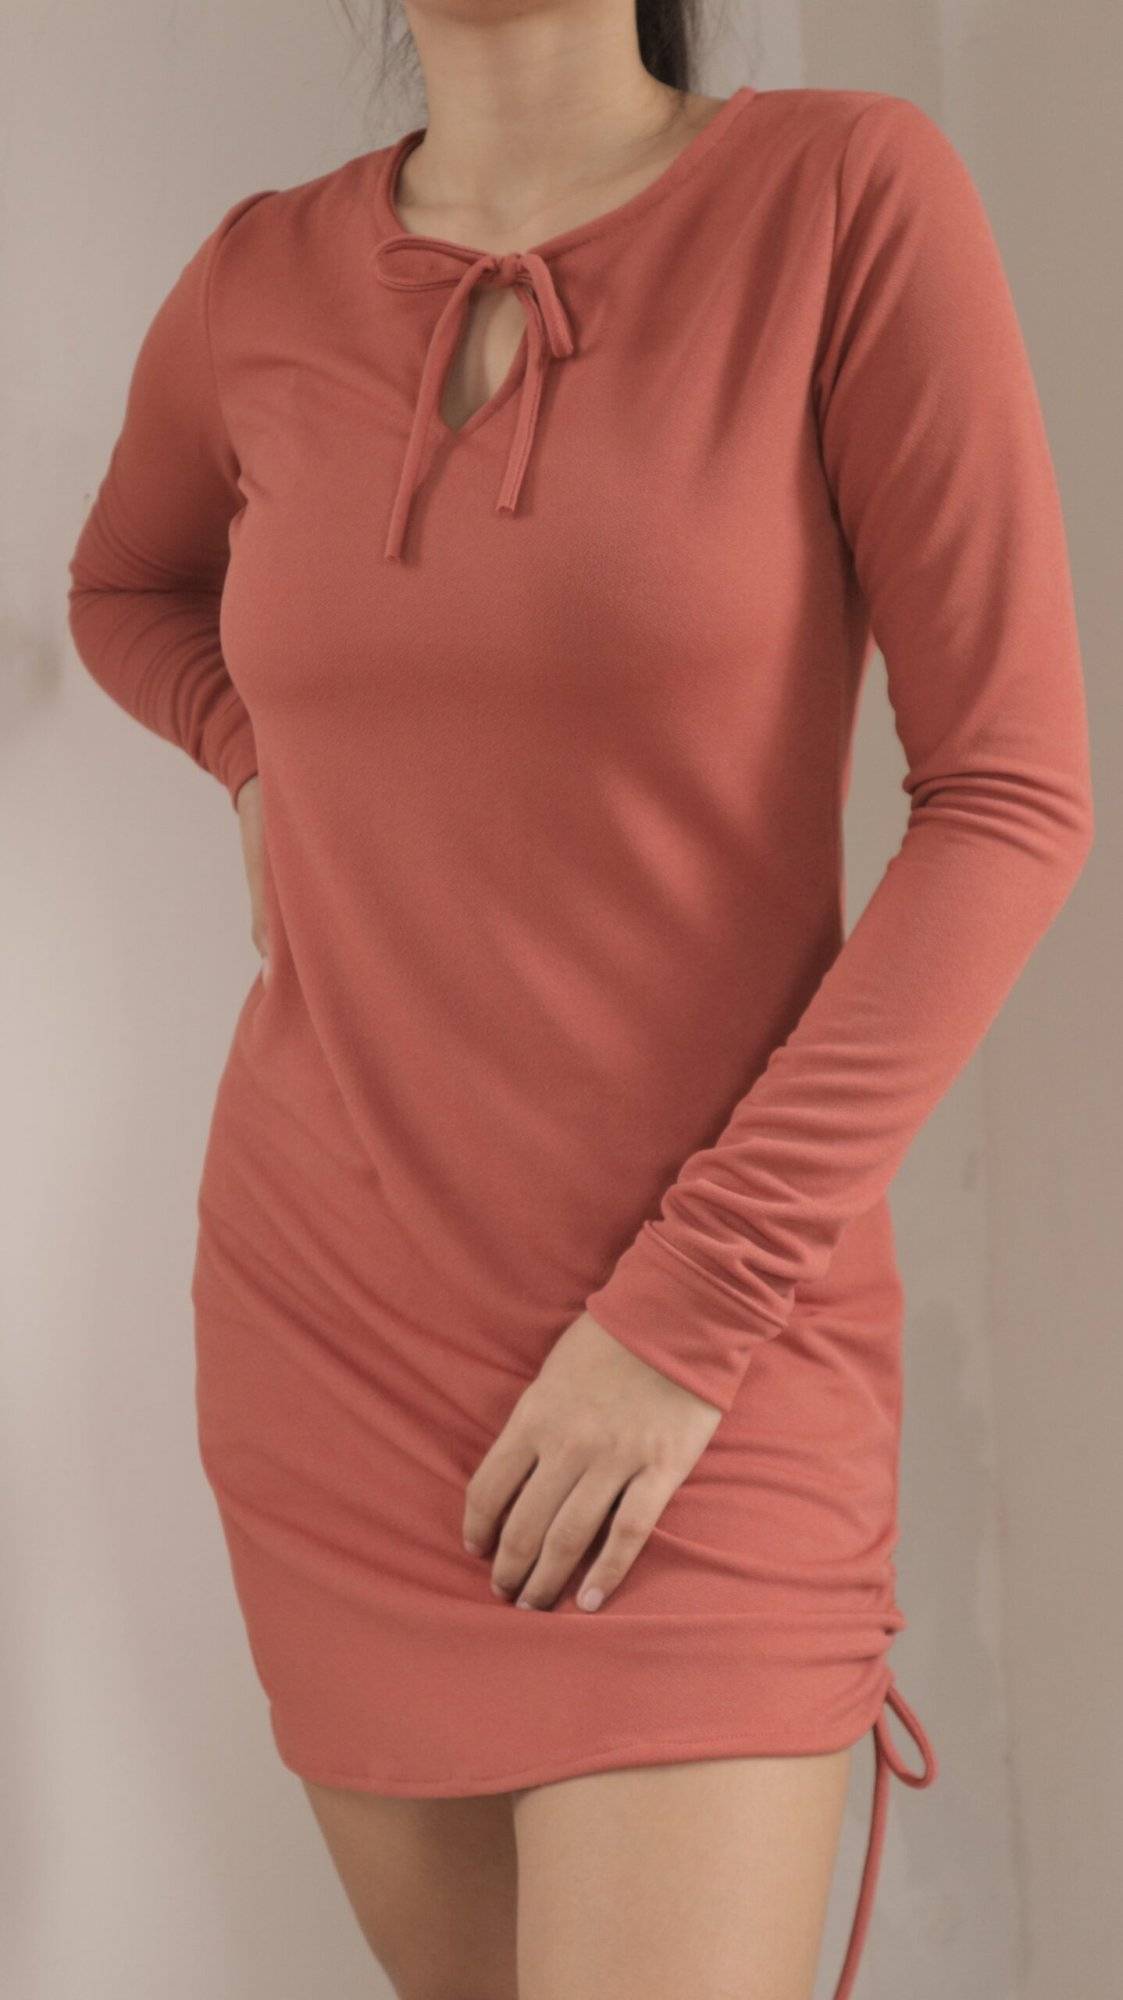
Looking to add some appeal to your summer wardrobe? With this simple pattern piece, even beginners can create a gathered, puckering look along the side seam of a jersey or knit summer skort, skirt, dress, crop pant, or shorts. Whether you’re looking to spruce up an existing piece of clothing or start a new sewing project from scratch, this easy-to-use and FAST pattern is the perfect addition to any bottom hemline garment.
We love using this construction to add a little sex appeal to our Buenos Aires Jersey Beach Dress pattern, which includes the letter sized and A4 pattern, full instructions and 3 short videos. It is just one of the 125+ sewing patterns available in our sales offer at Sewing Pattern Secrets. Of course, you can always make the dress without the tunnel as well.
Here's what you'll need for supplies:
- Scissors
- Pins
- String, Drawcord or Handmade Cord that will match with your garment. Approx 2 X 5.5"
- Jersey Swatch of similar stretch and weight as the garment
We created strings from the dress fabric using a tube method. Our fabric had 5% spandex and so it created great cords.
Step 1 - Side Seams First
Attach front to back pattern pieces first. As long as any pockets or darts are not obstructing the side seam, you will be able to place the pattern piece for the tunnel as high up as you like
Step 2 - Complete the Hem
If you are using an existing piece of clothing, even better!
If you are sewing a new project, complete the hem around the bottom as will suit your fabric.
In our case, we are using a stable jersey, which best suits this tunnel construction. Beginners should be very careful to test their fabric for the hem seam before construction of the garment to make sure it does not curl. If it curls, you might use techniques to prevent curling, or just go with it and even try to create waves along the bottom as part of the design.
Step 3 - Construct the Tunnel Pattern Piece
Construct a tunnel pattern piece long enough to go from the starting point to the top of the bottom of the hem and to include a seam allowance of 3/8″ to allow you to fold over and finish the edge of the tunnel with either a serger or a finished edge appropriate for your fabric. You want it shorter than the overall length of the garment and it will stop (not longer than) before the finished hem line on the wrong side of the fabric.

Step 4 - Finish the Edges of the Tunnel Pattern Piece
Finish the edges of the tunnel pattern piece by serging around the tunnel piece or folding around 3/8 of the sides if you do not have a serger and iron down. Stitch the edges all around the piece with a stretch or zz stitch appropriate for your fabric.
Step 5 - Attach the Tunnel to the Strings
Pin together and stitch together the top of the strings to the top of the tunnel piece. Making sure the strings are not peaking through the bottom very far, as they will be seen when the garment is relaxed.
Step 6 - Align the Tunnel to the Garment
Wrong sides of the garment at the side seam. Align the tunnel string combo to the top and position in place, making sure that the bottom of the tunnel doesn’t peak through the bottom of the finished hem.
Step 7 - Attach/Top Stitch the Short top end of the pattern piece to the top of the garment.
On the Wrong Side of the Garment: Sew the tunnel to the garment at the short horizontal end, Just one line of stitching. Short Stitches.

CONCEPT: String Placement and Tunnel Center Seam
You will be working right to left. Stitch/attach the tunnel to the garment along the right lateral side, adjust the right hand string to be tight against the right side. Pin the string away from the center of the tunnel piece, as you are going to make the string encased (sandwiched) inside by/when creating the center seam.
After you create the center seam you are going to ensure the left hand string is tight against the center, so that you don’t catch it when you sew the left hand lateral.
Then you will attach/topstitch the left lateral side of the tunnel to the garment.

Step 8 - Pin Down and Sew the Tunnel to the Dress
On the wrong side of the garment, pin down one side of the tunnel to the dress, carefully avoiding the strings to prevent them getting caught when you sew.
Then, Sew Down the Right Hand Side attaching the tunnel piece to the garment.
Adjust right hand string to the right.
Top Stitch Center Seam
Adjust left hand string to center.
Top Stitch Left hand edge of the tunnel to the garment.
Step 9 - Adjust the String as You Like
Adjust as you like by pulling the string.

Purchase our 125+ Sewing Patterns, Instructions, and Video Tutorials at Sewing Pattern Secrets, while this offer is still being offered in a bundle.
This simple pattern piece can be added to any summer garment to create a unique, personalized look. Experiment with different fabrics and patterns to see what works best for you. With these easy steps, you’ll be able to create a stunning piece that will become a staple in your summer wardrobe.
Welcome to TheSewingBuzz.com, your ultimate destination for all things sewing! I'm Margie Vaudreuil, the creative force behind TheSewingBuzz and SewingPatternSecrets.com. As a lifelong New Englander from suburban Boston, my passion for the creative arts spans fine art, design, fiber arts, and digital design. My sewing journey has been profoundly influenced by my mother, who crafted my costumes and clothing in the 60s and 70s, and my fraternal grandmother, who, despite leaving school in 6th grade to work as a seamstress, designed many of her children's clothes with incredible skill and creativity. Guided by my strong Christian faith and supported by my loving family, I draw inspiration from every aspect of my life. My husband, Mark, is my best friend and a sales guru, and my son, Alex, resides in San Jose, California. I am also a proud step-grandmother to Hazel and Gottlieb, and stepmother to Sean and his lovely wife, Lisa, who live in Austria. As the founder, developer, web designer, content creator, and design manager of TheSewingBuzz, my mission is to inspire and empower sewists of all levels. Here, you'll find a wealth of sewing patterns, tips, and tutorials designed to help you create beautiful, unique garments and accessories. Join me on this exciting sewing adventure and let's bring your creative visions to life! "Make it your goal to live a quiet life, minding your own business and working with your hands, just as we instructed you." 1 Thessalonians 4:11 Visit us at: TheSewingBuzz.com SewingPatternSecrets.com MarjorieVaudreuilDesigns.com
2 thoughts on “DIY Beginner Fashion: Spice Up Your Summer Clothes with ONE Pattern Piece”
Leave a Reply Cancel reply
Recent Posts
Women's Genevieve Blouse: V or U Shaped Neck, Short Sleeve or No Sleeves
Women's Genevieve Blouse We love the simplicity of this pattern, making it a great first woven blouse.Tips for Beginners:Try the round neck version; the V neck requires special care.Avoid...
Toddler Bib Sewing Pattern for Beginners: Catch All the Crumbs
Catch-All Toddler Bib Pattern This Toddler Bib is an easy sewing pattern for baby shower or gift. Sew this pattern as part of a Grow-A-Long bib series, with the Baby Sized Angel’s Wings...


I love style